
Under Cabinet LED Lighting Ideas for Modern Homes
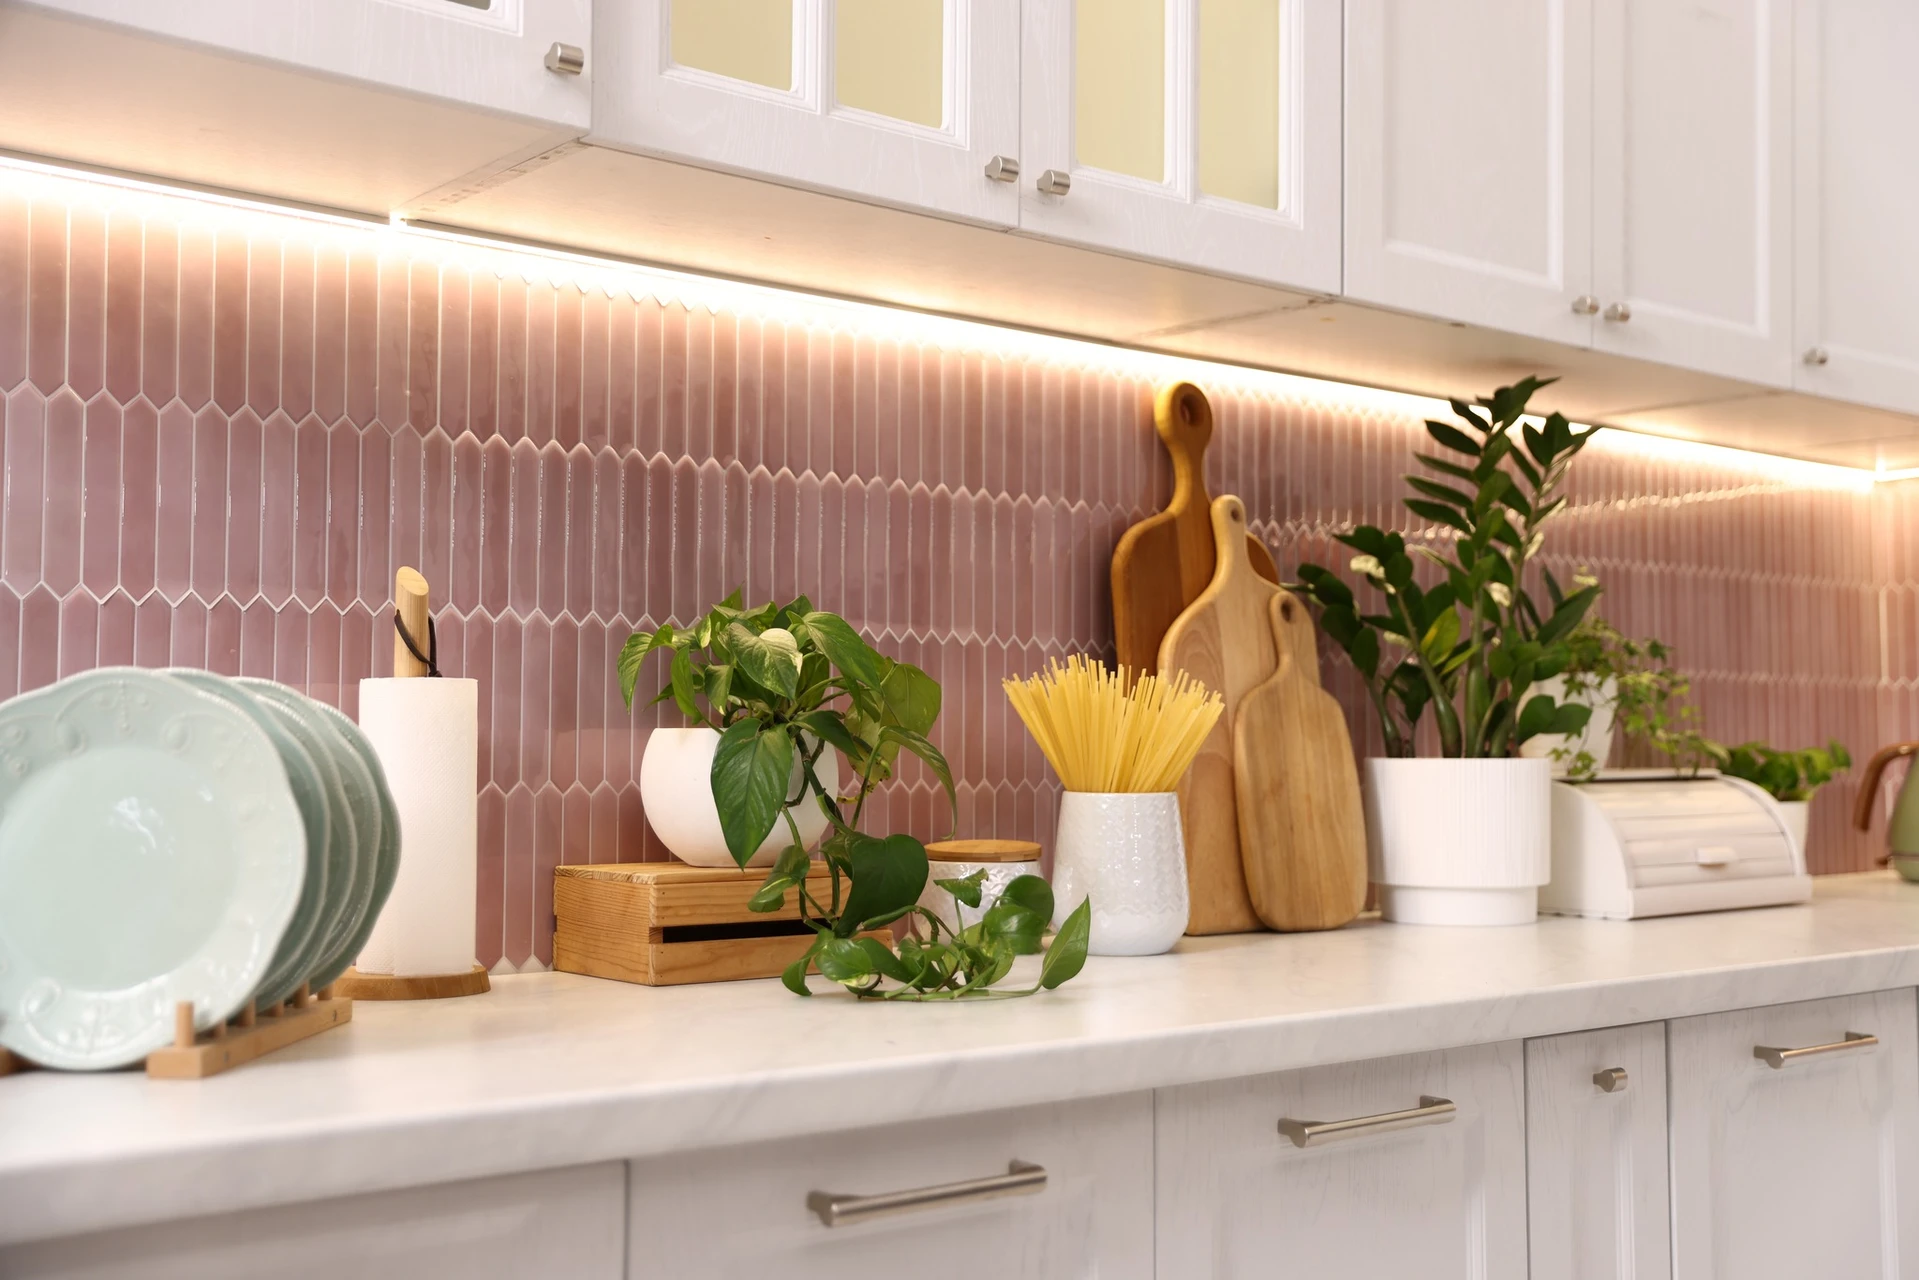
I remember the first time I walked into a kitchen that had proper under-cabinet lighting. It wasn't a fancy restaurant or a model home it was my aunt's modest kitchen in the suburbs. She'd had a contractor install a simple strip of LEDs under her upper cabinets, and the difference was almost embarrassing. The counters looked cleaner. The backsplash tile actually showed its color. Even the food she was chopping seemed more appetizing. I stood there thinking, "Why doesn't everyone do this?"
That moment stuck with me. Years later, when I finally bought my own place, under cabinet lighting was one of the first upgrades I made. And I quickly learned that there's a lot more to it than just sticking some lights under a shelf. The choices matter the type of fixture, the color temperature, the brightness, even the installation method. Get it right, and your kitchen feels like it belongs in a design magazine. Get it wrong, and you've got weird shadows, hot spots, and a nagging sense that you wasted your money.
If you're reading this, you're probably in that same place I was, trying to figure out what actually works. So let me walk you through what I've learned, from the basics of under cabinet LED lighting ideas to the specifics that make a real difference. No fluff, no sales pitch. Just the stuff I wish someone had told me from the start.
Why Under Cabinet Lighting Matters More Than You Think
Let's get one thing straight: under-cabinet lighting isn't just about looks. Sure, it makes your kitchen look better. But it also makes your kitchen work better. If you've ever tried to chop onions in your own shadow, you know exactly what I mean.
The numbers back this up. A well-lit work zone needs somewhere between 70 and 80 footcandles, which translates to roughly 450 lumens minimum at the counter surface. Most kitchens rely on overhead fixtures that cast shadows exactly where you need light the most, right in front of you. Under cabinet lighting fills that gap. It puts light where the work happens.
But here's the thing: the same principles apply beyond the kitchen. Accent lighting in living rooms, display cabinets, bookshelves, even closets can transform how a space feels. It's not just about seeing better. It's about creating depth, highlighting textures, and making a room feel intentional rather than accidental.
The Main Types of Under Cabinet LED Lighting
When I started researching, I assumed there was one "best" option. There isn't. It depends on what you're trying to achieve, how much you want to spend, and how handy you are with a drill. Here's the breakdown I wish I'd had.
LED Strip Lights (Tape Lights)
These are the workhorses of under-cabinet lighting. You get a flexible adhesive-backed strip with tiny LED chips spaced every inch or two, and you stick it under your cabinet. They're affordable, easy to cut to length, and they deliver a smooth, continuous wash of light.
The catch? Without a diffuser channel, you can see individual "hot spots" where each LED sits. I learned this the hard way in my first apartment. The fix is simple: buy an aluminum channel with a frosted diffuser. It evens out the light, dissipates heat, and looks more professional. Trust me on this one it's worth the extra few bucks.
LED strips work best for long, continuous runs. Under a row of upper cabinets, along a bookshelf, inside a display case. They're also great for toe-kick lighting if you want a subtle glow near the floor.
Puck Lights
Puck lights are small, round fixtures that mount individually under your cabinets. They act like miniature spotlights, creating distinct cone-shaped pools of light on your counter. Some people love the classic "scalloped" look they create on a backsplash. Others find it uneven.
The truth is, puck lights are better for targeted illumination than general task lighting. They're perfect inside glass-front cabinets, under a single shelf, or anywhere you want to highlight a specific object. They're also easier to retrofit because you don't need a continuous run you just mount each puck where you need it.
One more thing: puck lights come in both line-voltage and low-voltage versions. Line-voltage models like the American Lighting MVP 3 Puck Light Kit don't require a separate driver, which simplifies installation. More on that in a bit.
Flexible LED Sheet Modules
This is where things get interesting. Flexible LED sheet lighting is a newer option that solves a lot of the problems strips and pucks can't. Imagine a thin, flexible panel covered in hundreds of tiny LEDs, delivering uniform, dot-free illumination across a wide surface. That's what these sheets do.
The Core Lighting Flexible LED Sheet Modules, for example, pack 288 LEDs into a 24" x 12" panel, delivering 2600 lumens at 120 lumens per watt. They're field-cuttable, so you can shape them to fit irregular spaces. And because they're designed for backlighting, they produce zero hot spots, something strips struggle with unless you use a diffuser.
The trade-off is cost. Sheets are more expensive upfront than strips. But if you're backlighting a stone countertop, a large display, or an architectural feature, they're in a different league entirely.
Puck Lights vs. LED Strips: Which Should You Choose?
This is probably the most common question I see, and the answer really depends on the application.
Choose LED strips if:
- You want a seamless, even wash of light across a long surface
- You're lighting under a continuous row of cabinets
- You're comfortable cutting and mounting a flexible strip
- You want the most cost-effective option per foot
Choose puck lights if:
- You need targeted light in specific spots
- You're lighting inside a glass-front cabinet
- You want a simpler installation without running a continuous strip
- You prefer the classic scalloped look on your backsplash
Personally, I've used both. In my current kitchen, I have LED strips under the main cabinets for task lighting and a couple of puck lights inside a display cabinet for accent. They serve different purposes, and neither one is "better" in every situation.
If you're looking for a reliable puck light option, the American Lighting MVP 3 Puck Light Kit is a solid choice. It includes three swivel pucks that put out 200 lumens each at 2700K with a 90+ CRI, which means colors look natural and warm. The swivel feature lets you aim the light where you need it, and because it's line-voltage, you don't need a separate driver. I've installed these before, and the snap-fit mounting system makes it about as painless as puck light installation gets.
How to Install Under Cabinet LED Lighting (Without Losing Your Mind)
I'm not going to pretend this is a five-minute job. It's not. But it's also not as intimidating as it sounds. Here's the process I've used, refined after a few trial-and-error moments.
Step 1: Plan your layout. Before you buy anything, figure out where the light needs to go. Measure each cabinet section. Decide whether you want continuous lighting or individual fixtures. Think about where the power source will be you'll need an outlet or a hardwired connection.
Step 2: Choose your mounting method. For strips, you'll typically use mounting clips or an aluminum channel. For pucks, you'll use screws or the included mounting hardware. If you're using a channel, cut it to length with a hacksaw or tin snips and mark your clip positions every 12 to 18 inches.
Step 3: Prepare the surface. Clean the underside of your cabinets thoroughly. Adhesive doesn't stick well to greasy or dusty surfaces. If you're using screws, pre-drill your holes to avoid splitting the wood.
Step 4: Mount your fixtures. For strips, peel the adhesive backing and press firmly along your marked line. For channels, attach the channel first, then insert the strip. For pucks, mount each fixture and connect the wiring according to the instructions.
Step 5: Connect the power. This is where it gets a little tricky. Low-voltage systems require a driver (transformer) that steps down the voltage. Line-voltage systems can connect directly to your home's wiring. If you're not comfortable working with electrical, hire an electrician. It's not worth the risk.
Step 6: Test and adjust. Turn everything on before you finalize the installation. Make sure the light is even, the color temperature looks right, and there are no visible hot spots. Adjust as needed.
One more tip: if you're doing a retrofit and don't want to deal with wiring, battery-operated or plug-in options exist. They're not as permanent, but they work in a pinch.
Understanding Brightness and Color Temperature
This is where a lot of people get tripped up. Brightness and color temperature are not the same thing, and getting them wrong can ruin the whole effect.
Brightness (Lumens)
For task lighting, the kind you need for chopping, reading recipes, and actually seeing what you're doing, aim for 300 to 500 lumens per linear foot at the counter surface. If you're relying on cabinet lights as your primary general lighting, you might need 500 to 1000 lumens per foot.
For accent lighting inside display cabinets or on shelves, you can go much lower; 150 to 300 lumens per shelf is usually plenty.
Color Temperature (Kelvin)
Warm white (2700K–3000K) creates a cozy, inviting feel. It's flattering for wood tones and works well in living spaces. Cool white (4000K–5000K) feels more modern and clinical; it's better for task-focused areas where you need to see fine details.
Natural white (around 3500K–4000K) is a good middle ground for kitchens. It's bright enough for work but not so harsh that it feels like a laboratory.
My personal recommendation? If you can't decide, go with a selectable CCT fixture. Many modern under-cabinet lights let you switch between warm, natural, and cool white with a flick of a switch. That way, you can adjust based on the time of day or the task at hand.
The Products That Actually Deliver
I've tested a lot of lighting over the years, and a few products stand out for different reasons. Here are three I'd genuinely recommend, each serving a different purpose.
American Lighting MVP 3 Puck Light Kit
If you want a straightforward, reliable puck light solution, this is it. Each puck uses only 4.3 watts and produces 200 lumens, which is roughly equivalent to a 20-watt incandescent bulb. The kit includes three pucks, a 6-foot power cord with a roll switch, linking cables, and mounting screws.
What I like most is the versatility. The pucks can be surface-mounted or recessed, and the 30-degree swivel lets you aim the light exactly where you want it. They're dimmable with most standard dimmers, and you can link up to 20 pucks together if you need to cover a larger area. The 2700K color temperature with 90+ CRI makes everything look warm and natural.
Generation Lighting Accent Cable Kit
This one is for a different purpose entirely. The Generation Lighting Accent Cable Kit is a suspended cable system with five adjustable accent heads. Each head can tilt between the cables and rotate 120 degrees, giving you precise control over where the light goes.
This isn't an under-cabinet light in the traditional sense. It's more of a decorative lighting solution for interiors, perfect for highlighting artwork, architectural features, or a dining table. The matte nickel finish looks sleek and modern, and the 20-foot cables give you plenty of flexibility in placement. If you're looking for something that makes a statement, this is it.
Core Lighting Flexible LED Sheet Modules
This is the premium option, and it's worth every penny if you need uniform, dot-free illumination across a wide surface. The LFS-2412 sheet delivers 2600 lumens at 120 lumens per watt, with a 90+ CRI and a 50,000-hour lifespan.
What makes these sheets special is their flexibility. They can bend to a 50mm diameter, which means you can wrap them around curves or fit them into irregular spaces. They're field-cuttable, so you can shape them to your exact needs. And because they're designed for backlighting, they eliminate the hot spots and unevenness that strips sometimes produce.
I used a similar sheet module to backlight a quartz countertop in a friend's kitchen renovation, and the result was stunning. The light was perfectly even, with no visible dots or shadows. It looked like the counter itself was glowing.
Accent Lighting Beyond the Kitchen
I've focused a lot on kitchens because that's where under cabinet lighting is most common. But the same principles apply throughout your home.
Bookshelves: Warm white LED strips tucked under each shelf create a cozy, library-like feel. For a more dramatic look, backlight the shelves against a solid wall.
Display cabinets: Puck lights work beautifully here. They create focused pools of light that make glassware, collectibles, or art pop.
Closets: Motion-sensor LED strips are a game-changer. They turn on when you open the door and off when you close it, so you're not fumbling in the dark.
Living room accents: The Generation Lighting Accent Cable Kit is perfect for highlighting a piece of art or creating a focal point above a seating area.
Does Accent Lighting Really Increase Home Value?
I've seen this claim thrown around a lot, and I wanted to know if it's actually true. The short answer is yes, but with a caveat.
Real estate agents consistently list lighting as one of the most impactful upgrades for perceived home value. Layered lighting combining ambient, task, and accent lighting makes a space feel more finished and intentional. Buyers notice this, even if they can't articulate why.
The key is consistency. Warm, consistent lighting throughout a home creates a stronger emotional connection for buyers than a patchwork of mismatched fixtures. If you're planning to sell, updating your lighting is one of the most cost-effective improvements you can make.
That said, don't expect a dollar-for-dollar return. Lighting is more about perception than appraisal value. But perception matters a lot when you're trying to sell a home.
Frequently Asked Questions
What is the best LED lighting for kitchen cabinets?
For most kitchens, LED strip lights with a diffuser channel offer the best combination of even illumination, affordability, and ease of installation. If you prefer targeted light or have glass-front cabinets, puck lights are a better choice.
Are puck lights better than LED strips?
Neither is universally better. Puck lights create focused pools of light and work well for accent or display lighting. LED strips provide a continuous, even wash and are better for task lighting across long surfaces.
How do you install under cabinet LED lighting?
Plan your layout, clean the mounting surface, mount your fixtures using adhesive or screws, connect the power (using a driver for low-voltage systems), and test before finalizing. If you're not comfortable with electrical work, hire an electrician.
What brightness is best for cabinet lighting?
For task lighting, aim for 300 to 500 lumens per linear foot at the counter surface. For accent lighting on shelves or in display cabinets, 150 to 300 lumens per shelf is usually sufficient.
Are LED puck lights energy efficient?
Yes. LED puck lights typically consume only 3 to 4 watts each, compared to 20 watts or more for halogen equivalents. They use up to 85% less energy and produce far less heat.
Can LED sheet modules replace strip lighting?
For large, flat surfaces where uniform backlighting is needed, yes. Flexible LED sheet modules deliver dot-free illumination and can be cut into custom shapes. For long, narrow runs or tight spaces, strips are often more practical.
What type of lighting is best for shelves?
Warm white LED strips (2700K–3000K) are the most versatile choice for shelves. They create a cozy, flattering glow without harsh shadows. For dramatic backlighting, consider flexible LED sheets.
How long do under cabinet LED lights last?
Most quality LED under cabinet lights are rated for 30,000 to 50,000 hours. At three hours of use per day, that's roughly 27 to 45 years of life.
Should under cabinet lights be warm or cool white?
It depends on the task. Warm white (2700K–3000K) is better for living spaces and creating ambiance. Cool white (4000K–5000K) is better for task-focused areas where you need to see fine details. Natural white (3500K–4000K) is a good compromise for kitchens.
Can accent lighting increase home value?
Yes. Layered lighting that includes accent fixtures makes a home feel more finished and inviting, which can positively influence buyer perception and resale value.
Final Thoughts
Under-cabinet and accent lighting isn't just a nice-to-have. It's one of those upgrades that changes how you actually use your space. I've lived in places with terrible lighting and places with thoughtful lighting, and the difference is night and day, literally.
If you're just starting out, begin with LED strips in your kitchen. Add a diffuser channel. Pick a color temperature that suits your space. Live with it for a while. Then, once you see the difference, expand to other areas: shelves, cabinets, artwork. Layer your lighting the way designers do.
And if you're ready to shop, the three products I mentioned the American Lighting MVP 3 Puck Light Kit, the Generation Lighting Accent Cable Kit, and the Core Lighting Flexible LED Sheet Modules cover a wide range of needs and budgets. Each one does something specific really well. Pick the one that matches your project, and you won't be disappointed.
Your home will thank you. Your eyes will thank you. And honestly? You'll wonder why you didn't do it sooner.


